Microsoft Entra ID

This tutorial show you how to integrate Microsoft Entra ID (formerly known as "Microsoft Azure Active Directory") as the identity management provider for your FormKiQ installation.
We will be:
-
Configuring a Enterprise application in Microsoft Entra ID
-
Adding an Identify Provider into Amazon Cognito
-
Mapping Microsoft Entra ID groups to Amazon Cognito groups
What you’ll need
-
Access to a FormKiQ Essentials, Advanced, or Enterprise installation, including administrative access
-
Administrative access to a Microsoft Entra ID service
Pre-requisite
You will need these specific configuration values:
-
CognitoUserPoolId
-
Console URL
-
Cognito domain
The CognitoUserPoolId and Console URL can be found in the Outputs tab of your FormKiQ CloudFormation installation
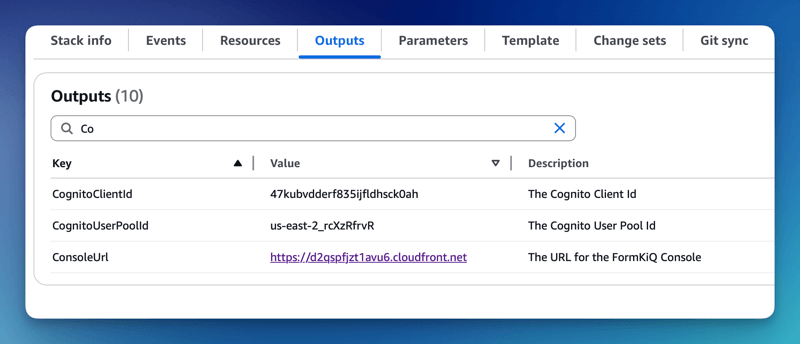
The Cognito domain can be found by clicking on the Cognito User Pool found on the Cognito Console. Then under the Branding menu, select Domain.

Microsoft Entra ID
The next step is to create an Enterprise application in Microsoft Entra ID. This application will be connected to Amazon Cognito and will provide authentication for the users.
Add an Azure Enterprise Application
To configure the Enterprise Application:
-
Login into the Azure Portal and open the Microsoft Entra ID service
-
Select Enterprise applications from the left menu and click New application
-
Select Create your own application, and give your application a name, and then click Create
Single Sign-On configuration
Now that the application is created, we will be configuring Single sign-on using SAML.
- Select Single sign-on from the menu and then choose the SAML single sign-on method
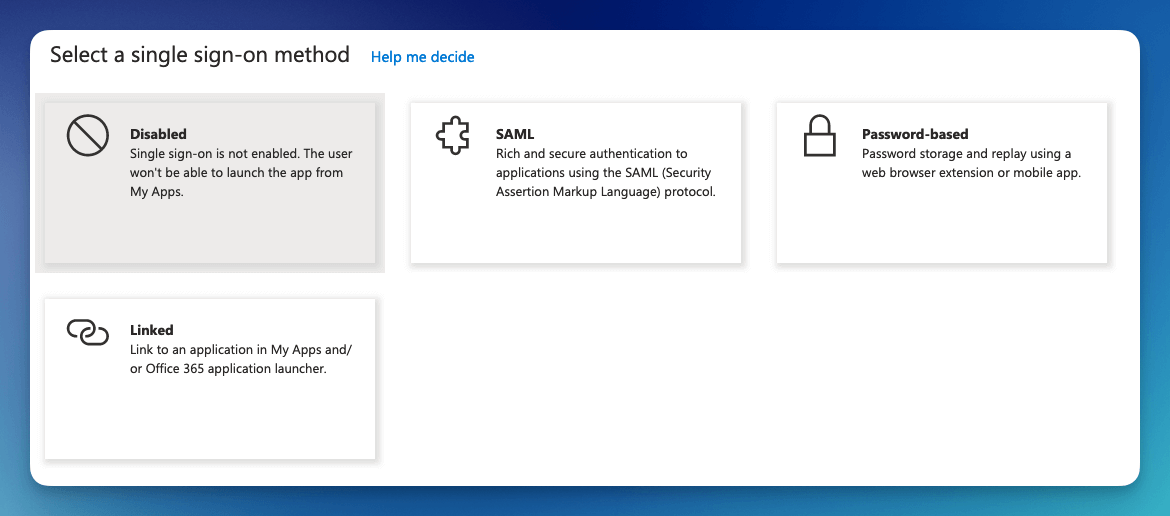
Once the single sign-on is created, you will need to fill in the Identifier (Entity ID) and the Reply URL.

The format of the Identifier (Entity ID) is:
urn:amazon:cognito:sp:<CognitoUserPoolId>

eg: urn:amazon:cognito:sp:us-east-2_MEhz4EzAZ
The Reply URL is: <Your Cognito Domain>/saml2/idpresponse, for example:
https://formkiq-enterprise-dev-1111111111111.auth.us-east-2.amazoncognito.com/saml2/idpresponse
Group Claims
Next, we need to configure the Attributes & Claims for the SAML response. The default attributes will work well, but we will need to add a group claim so FormKiQ knows what access to provide each user.
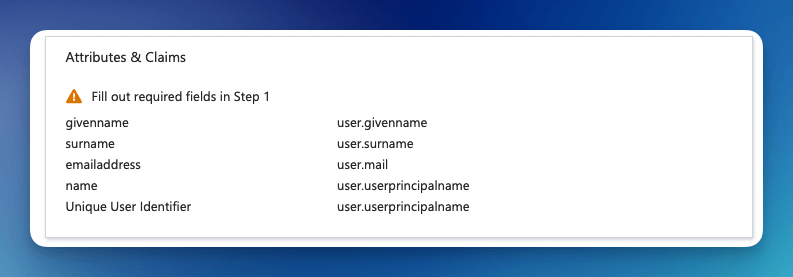
-
Click the Editbutton
-
Click the Add a group claim
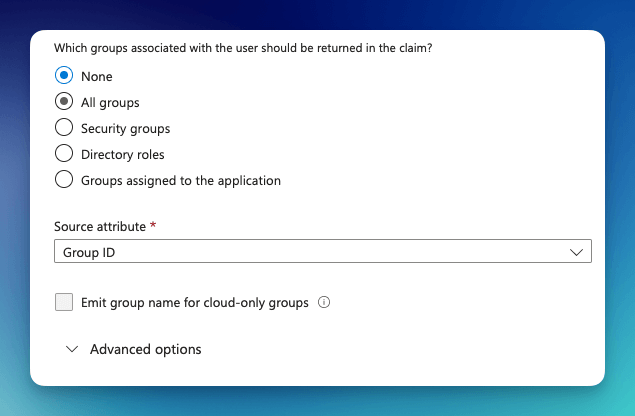
Here you can configure which groups will be returned with the SAML response.
-
Select Groups assigned to the application
-
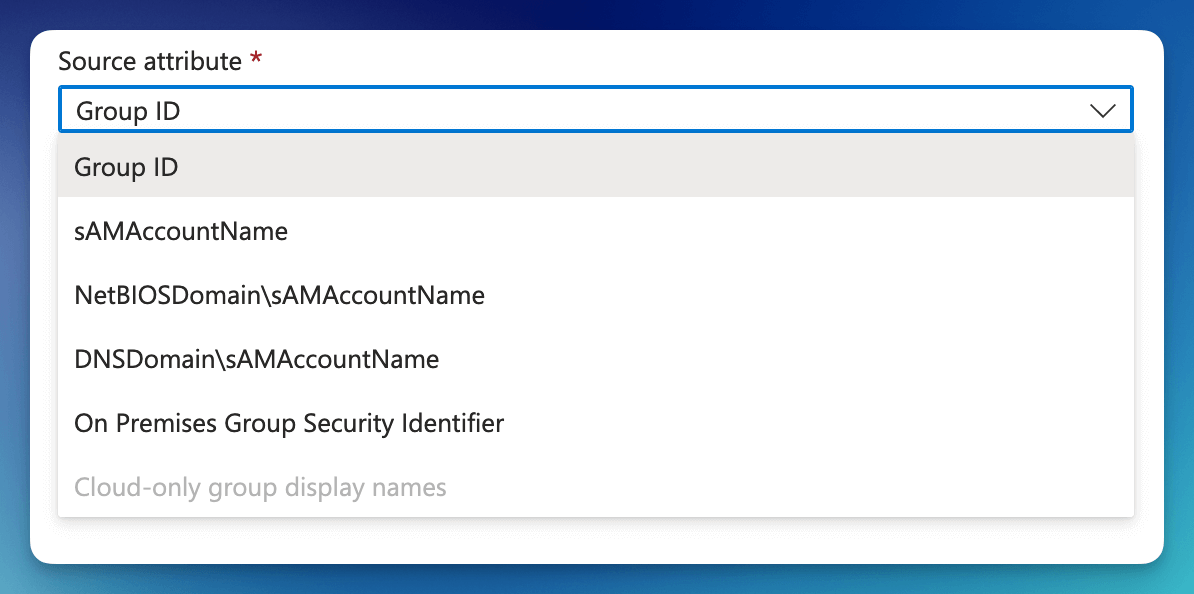
Change the Source attribute to Cloud-only group display names
Depending on your Azure subscription level, Cloud-only group display names may not be available. If this is the case, see the section Setup Group ID mapping
Under the SAML Certificates, make note of the App Federation Metadata Url, as that will be needed in the next step.
Amazon Cognito
Now, we will need to configure Amazon Cognito to connect to Microsoft Entra ID.
Add Identity Provider
We need to add Microsoft Entra ID as an Identify Provider in Amazon Cognito.
Open the AWS Console and Launch the CloudShell service.

Once the CloudShell command prompt opens, use the AWS CLI to add a custom attribute. This attribute will contain the group claims attribute.
aws cognito-idp add-custom-attributes \
--user-pool-id <CognitoUserPoolId> \
--custom-attributes Name=groups,AttributeDataType="String"
Once again, using the AWS CLI, create the SAML identify provider:
aws cognito-idp create-identity-provider \
--user-pool-id <CognitoUserPoolId> \
--provider-name=azureidp \
--provider-type SAML \
--provider-details MetadataURL=<App Federation Metadata Url> \
--attribute-mapping email=http://schemas.xmlsoap.org/ws/2005/05/identity/claims/emailaddress,custom:groups=http://schemas.microsoft.com/ws/2008/06/identity/claims/groups
Cognito Managed login
You now need to configure Amazon Managed login. Amazon Cognito Managed login provides a URL connection between Amazon Cognito and Microsoft Entra ID.
To configure Cognito Managed login, see Amazon Managed Login tutorial.
Manual Group Claims Mapping (optional)
When configuring Group Claims in Entra, if you are unable to select the Cloud-only group display names because of your configuration or your account settings, Azure will send the Group ID instead of the Group Name. The FormKiQ Pre token generation trigger can be configured to map the Group ID to the correct Group Name.
The Pre token generation trigger Lambda function supports adding a ROLE_MAPPING environment variable that can map the Group ID to Group Name.
To configure the ROLE_MAPPING environment variable:
First, find goto the Lambda console and search for the azure Lambda function.

Click on the Lambda function and select the Configuration tab.

To create the role mapping, add an environment variable named ROLE_MAPPING. The value is a JSON map, where the key is the Group Id and the value is the Group Name.
{  "aeb95a45-e83f-47a1-b319-717733831892":"student",
   "9bab91c3-4758-41e9-988a-2645c898ffed":"formkiq_default"
}
- (asterisk) can be used as the Group Id to indicate all groups

Summary
And there you have it! We have shown how easy it is to use Microsoft Entra ID as your authentication provider.
This is just the tip of the iceberg when it comes to working with the FormKiQ APIs.
If you have any questions, reach out to us on our https://github.com/formkiq/formkiq-core or https://formkiq.com.